Skip to content

US business website design

Auto Repair Website Design Built Around Your Shop

A driver should be able to find the work your shop handles, understand how to request an appointment and see genuine business details. We organize that journey around your actual repair services, vehicles and service process.

Start your website plan

Plan the website in three taps

Choose what you need, then tell us where to send the plan.

  1. 2. What you need
  2. 3. Your details

Auto repair

What would you like help with?

Tap the closest match. The detail can come later.

Design walkthrough

Inside an auto repair website design

Fictional US design demo

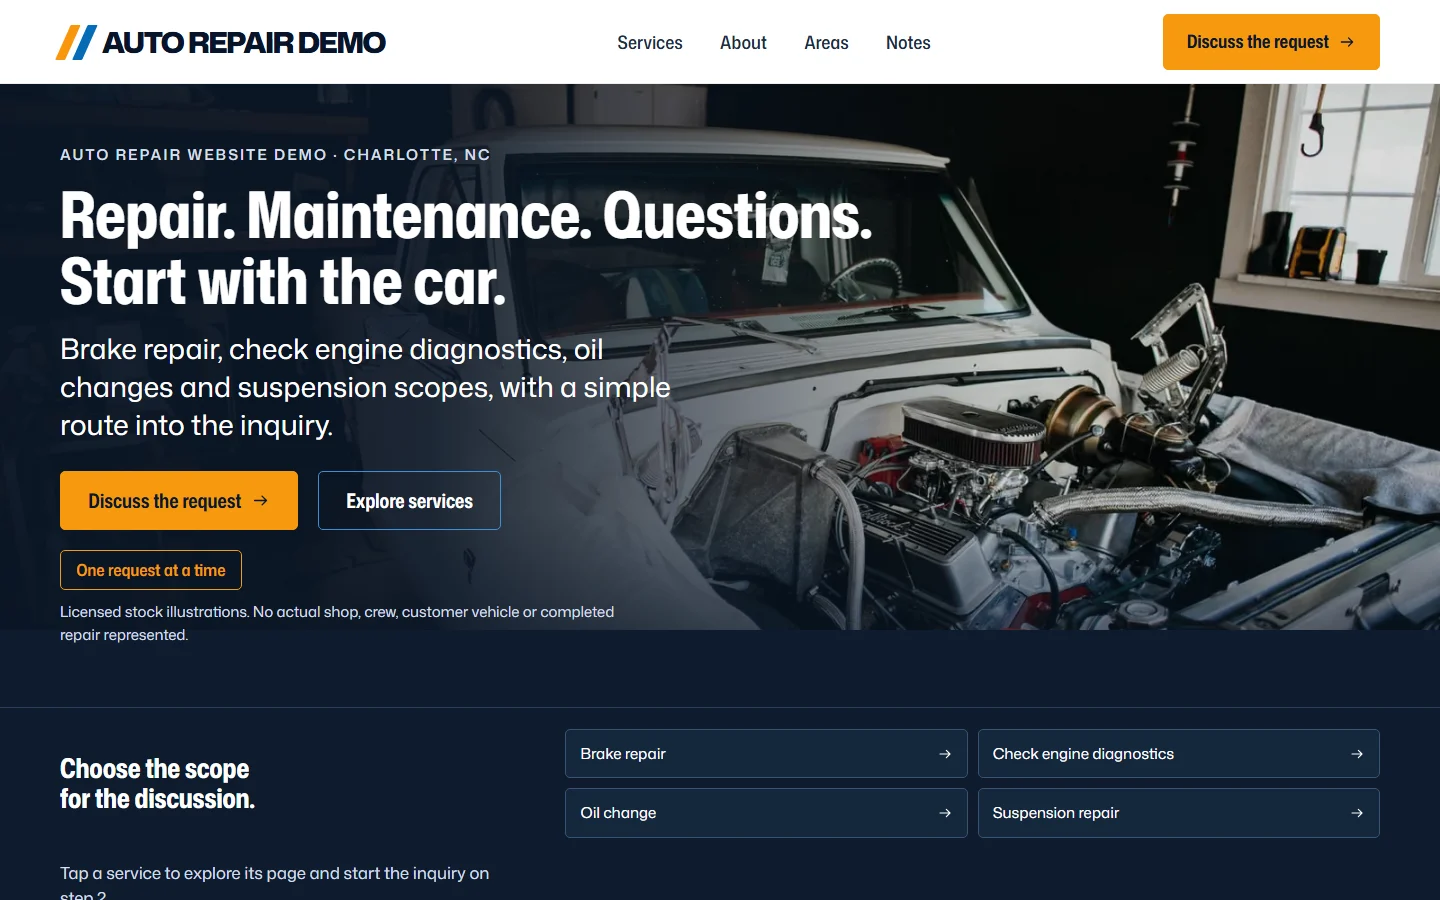
auto repair US demo homepage on a desktop screen.
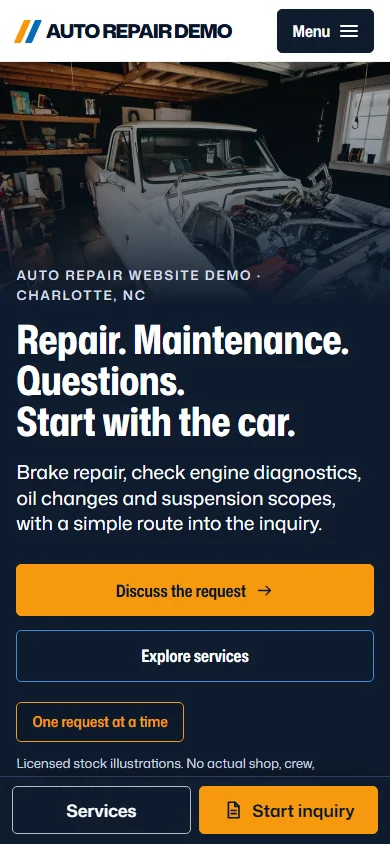
auto repair US demo homepage on a phone.

A fictional business with stock photography. These captures show the US demonstration, with no customer results or business credentials implied.

Explore the protected demo
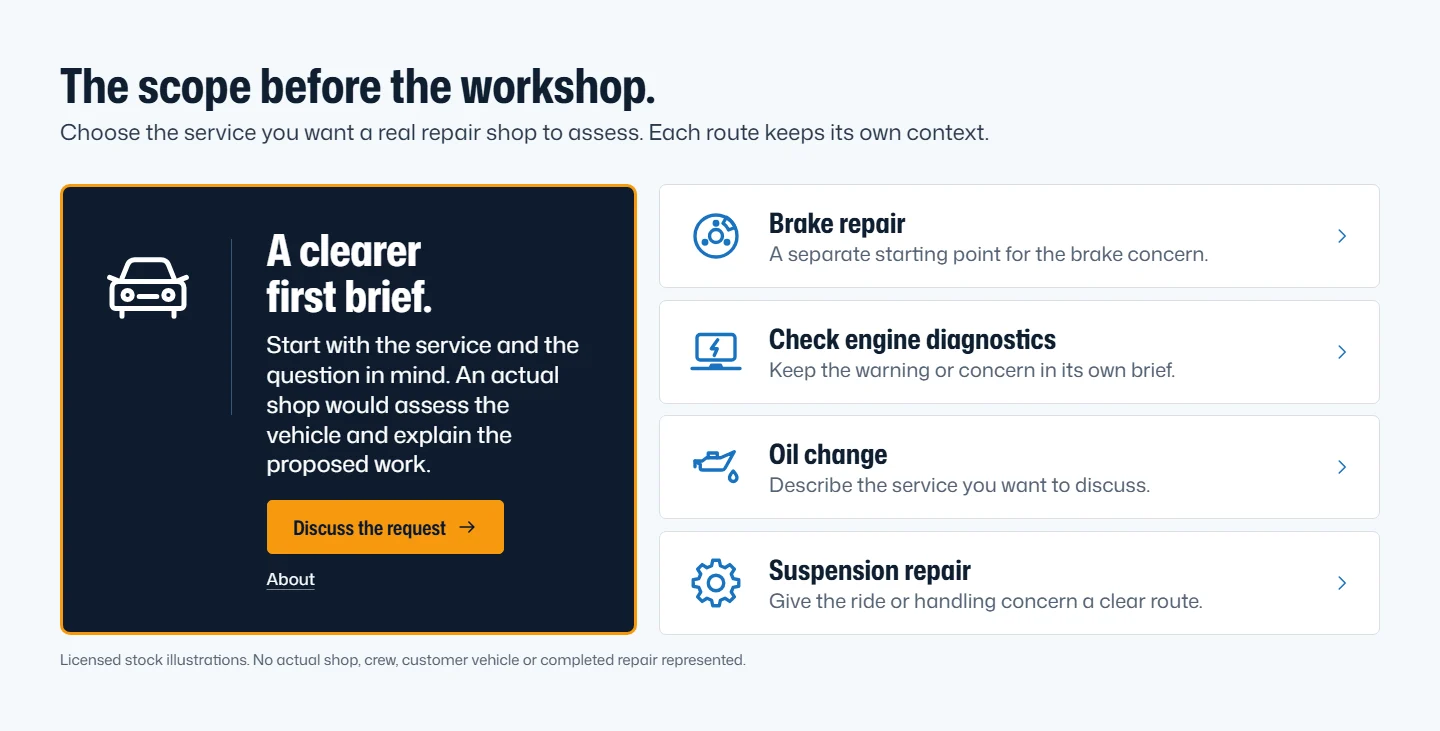
auto repair US demo: service choices.

01 / Service choices

Make brake repair easy to find

Brake repair and diagnostics provide clear starting points. The layout gives each service space to explain the work, then links the visitor to the relevant request route. The page list is agreed around the business's actual services.

A separate route for each service
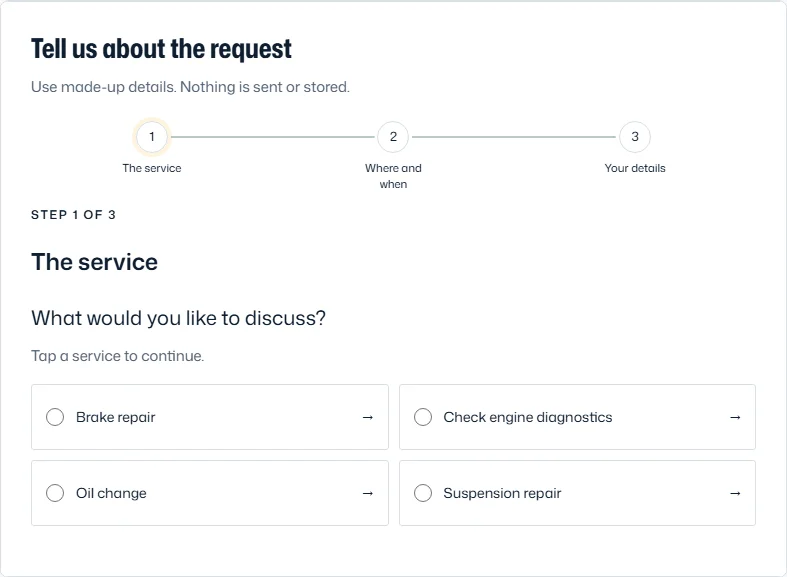
auto repair US demo: a simpler inquiry.

02 / A simpler inquiry

Keep the first decision small

Start with the service without promising a diagnosis. The demo asks for a service and timing before contact details; a service-page entry carries the selected service into step two. It sends and saves nothing.

Tap choices before contact details

auto repair US demo: context before contact.

03 / Context before contact

Answer the question behind the visit

Start with the vehicle concern and shop visit. Use this space to explain the process, location or next appointment step. Publish genuine service limits and business information, with credentials and specialist intake reviewed before launch.

Useful information before the inquiry

Make the repair menu useful to a driver

Separate the service categories your shop actually provides, such as scheduled maintenance, diagnostics or a specific repair area. Explain supported vehicle types and any exclusions. Do not create a page for every make or symptom unless the shop can supply useful, accurate information for it.

A symptom description is not a diagnosis. Page copy can explain the inspection or appointment process without implying that a website answer determines the repair or its final price. Keep diagnostic charges, quoted work and authorization steps consistent with the shop's approved process.

Show the real shop and the people doing the work

Avoid a wall of badges with unclear ownership. Confirm the business can use each mark and explain what the credential actually covers. A stock photograph can support a layout, but it must not be described as your technician or a completed customer repair.

  • Shop photographs and access details that match the location
  • Actual technician roles and verified qualifications
  • Current business identity and applicable registration details
  • Genuine service information approved by the shop
  • Customer material used only with the necessary permission

Ask for enough detail to route the request

Plan the fields with the shop: service requested, relevant vehicle details and a suitable way to reply. Explain whether the visitor is requesting an appointment or receiving a confirmed booking. Avoid promising immediate availability when the workshop still has to review capacity.

Keep repair authorization, payment and customer records within the shop's approved systems. Adding an appointment link does not automatically integrate workshop scheduling or authorize work. We record any external booking connection and test the handoff on desktop and mobile.

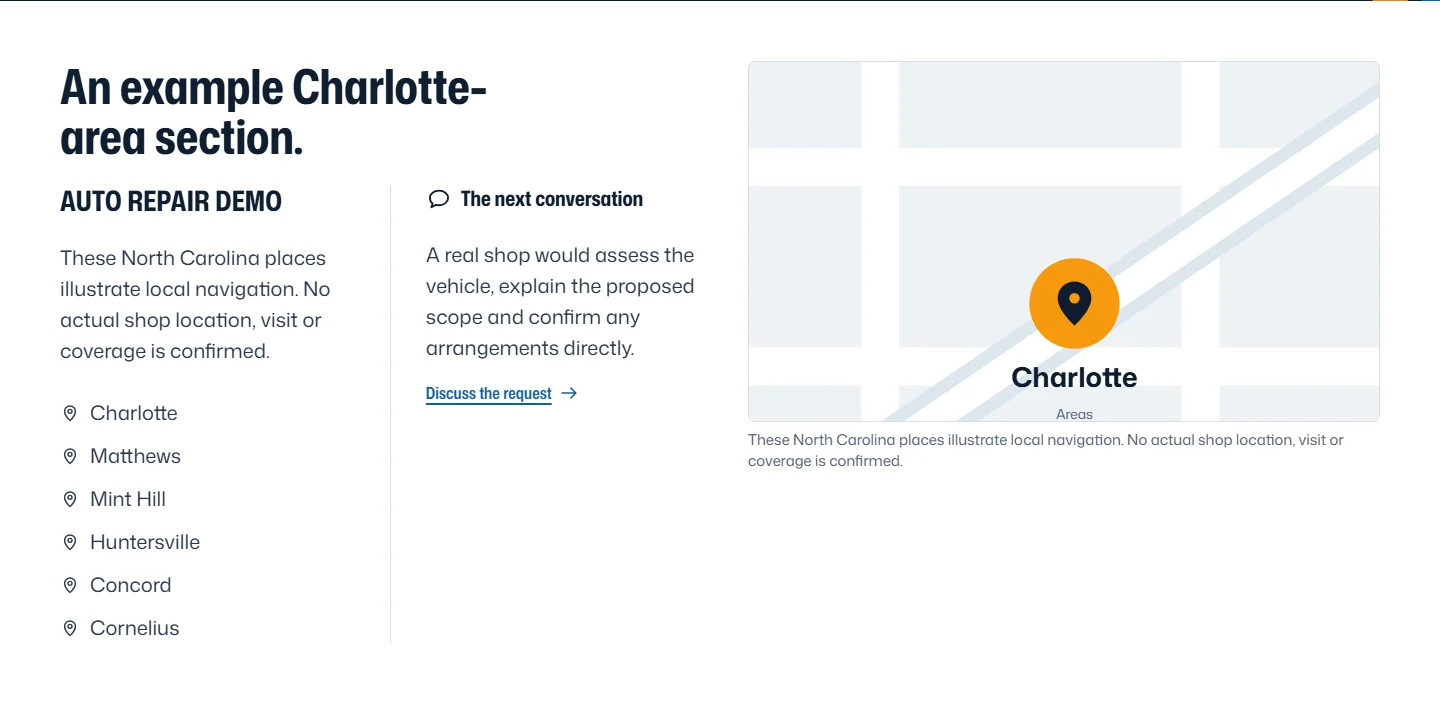
Check the rules for the shop's location

California BAR publishes specific online advertising and website disclosure requirements for automotive repair dealers. That is a California example, not a rule for every US shop. The business must check the regulator and current requirements that apply to its own locations.

Before handover, review business identity, disclosures, services, credentials and request instructions with the responsible shop contact. The website build does not certify licensing or replace advice about repair documents and customer authorization.

Website scope and starting prices

Choose a starting point. Confirm the scope.

Your proposal sets the page list, features and final price. You review the agreed website before payment, with launch after cleared payment.

Starter

From $399

One-time website project

A focused single page for a business that needs a clear place to send prospective customers.

  • One page organized around your services
  • An estimate request route
  • Your approved photos and business information
Discuss this website scope

Essentials

From $799

One-time website project

Up to five pages to explain your business, show genuine evidence and guide customers toward an inquiry.

  • Up to five pages with an agreed page list
  • Service, company and contact information
  • Space for genuine customer reviews
Discuss this website scope

Business

From $1,325

One-time website project

A broader site for businesses with several services, real project material and a larger service area.

  • The Essentials scope with additional agreed pages
  • Separate explanations for your services
  • Useful coverage pages for areas you actually serve
Discuss this website scope

All amounts are in USD. Website package prices are starting prices; your written proposal confirms the exact scope, total and any applicable taxes before work begins.

Compare the full package details

How your project works

See the site. Then decide.

  1. 01

    Tell us about the work

    Send the form or request a video call; we send your Teams link separately. We ask about your services, service area and the jobs you want.

  2. 02

    Agree the price and scope

    You get a written fixed price, page list and project scope. You know what is included before the build starts.

  3. 03

    Review your website

    We build your site for review. Check the words, design and details, and approve the agreed work before paying.

  4. 04

    Pay, then launch

    Once payment clears, we put the approved site live. Your website belongs to you; ongoing services are listed separately.

Sources and checked dates

Start with a website plan

Tell us your trade, service area and what needs to change. We will set out the next step by email or over a booked video call.

A reply within one business day.